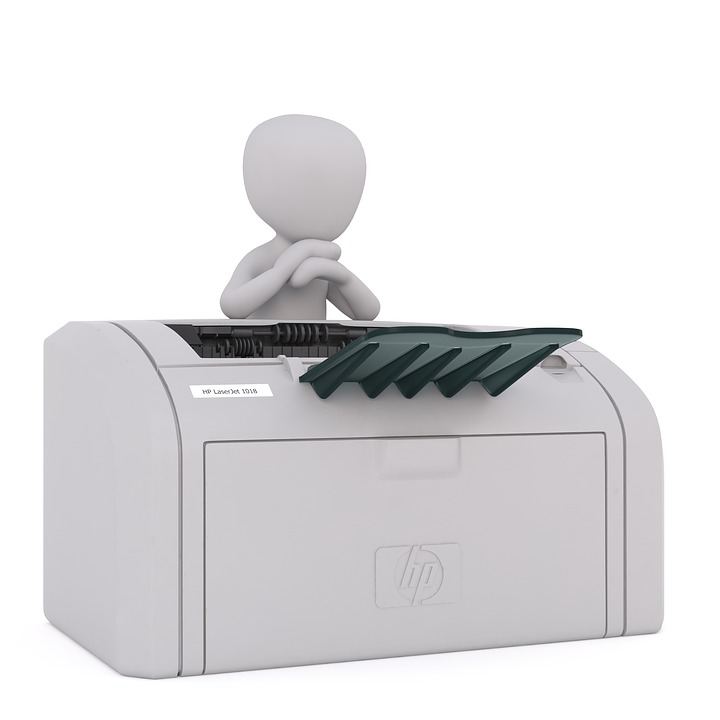
There are numerous reasons why your HP printer not printing black text. With a little bit of patience and knowledge on your part, you can easily solve any minor issues. Do not panic or get anxious when in the middle of an important task the printer stops working. Rather, pay attention to the problem and proceed with the troubleshooting. It is always better to try on your own than to rely on someone. Imagine a situation when you are printing urgent documents that need to be sent right away, and suddenly, your printer stops printing. Sounds like a nightmare?
There are so many instances when your HP printer may stop printing black text all of a sudden. And coincidentally, most of the times, it happens to be during the hours when you cannot get any help.
If you are someone who is not into technical stuff, you might find it difficult to understand what to do if hp printer not printing. However, this is no rocket science. With a few simple steps, you can easily get your printer back to work.
Troubleshooting Your HP Printer
Most HP printers, especially the ones with inkjet printers face printing issues. One most common problem that users face with an inkjet HP printer not printing black texts.
When such issues occur, the user normally thinks there is a shortage of black ink and it needs to be replaced. However, most of the times, the user is wrong.
Why Is Your Printer Not Working Properly?
There can be many reasons your hp printer not printing. If you wish to get rid of the situation as soon as possible, there are a few things you should do by yourself.
Start with The Most Basic Steps
- The very first thing you need to do when your HP printer not printing black ink is to turn your printer off completely. Remove its plugs from the power source and detach all the USB cables. After 20 minutes, reconnect everything and switch on your printer.
- Once you restart your printer, you need to check if it’s printing properly. To do that, try printing a test page. To do that, go to your printer’s display screen and in the “General” tab of the display screen, you can see the option called “Print Test Page” at the end of the page.
- If you are worried about the ink level of the printer, then double-check the cartridge.
Checking Your Cartridge
When you are checking the ink cartridge, here are a few things you need to do.
- If there are any empty or low ink cartridges, refill them.
- While checking the ink cartridge, if you find the cartridges are misplaced, install them properly.
- If you have recently installed a new cartridge, double-check whether or not you have removed the vent’s tape properly.
- Check properly if your cartridge vents are clogged. If they are clogged, use a pin to remove the dirt.
- Replace the existing new cartridge with the old one to see if your printer is still recognizing cartridges. If the old cartridge is printing well enough, then the problem is with your new cartridge. The printhead, in this case, is working fine. The main motive is to find out whether the cartridge is creating a problem or the printhead is at fault.
Checking Your Printhead
Once you are done with the cartridge checking part, and if you find nothing is wrong with it, chances are, your printhead is faulty. Here is what you should do to check if your printhead is working fine –
- To check if your printheads are working fine, the first thing you need to do is to check if they are clogged. Many HP printers do have the facility of automatic cleaning. But if your printheads can be removed, you should remove it manually and then clean it.
- Repeat the automatic printhead cleaning feature a second or third time if it does not work for the first time. However, do not overdo it because there is a limit for the same and it takes up a lot of ink.
- Re-align your printer after you are done with it.
Realigning Your Printer
Once you are done with printhead checking, you need to realign your printer after that. Here is how you should do it –
- While you are loading papers on the printer, turn it on.
- In the Control Panel, you will see a button right next to the Set-Up icon. Press it.
- Now, you need to go to the Tools option and click on OK.
- Now click on the Align Printer option and click OK.
- This will allow the printer to print your aligned page.
Checking Your Driver
If neither your cartridge or your printhead is faulty, then your printer probably has an outdated driver. You need to up to date your driver for your printer to start working properly. To update your driver, run your printer utility tool. Another way to update the driver is by visiting HP’s official website. Once you visit their website and put your printer model number, they will take you to a page where you can update your driver automatically.
Opt for Repairing or Replacement
If even after trying all of the above-mentioned troubleshooting ideas, your printer is still not working, you should opt for repairing or replacement. There is an HP toll-free number available, where you can make a call and ask for a representative to visit your home or office.
The representative can help you with the troubleshooting and part without you having to pay anything extra. However, if any parts should be replaced, then it might cost you some money. Before you say yes to replacing any parts like transfer kit, fuser, or any other such things, ask how much will it cost you. If that sounds like a huge investment, you should get a new HP printer.